Just recently, I saw a friend of my post a picture on her facebook page of a turkey that she and some friends had made. I kept thinking I wanted to make one like it. I showed my husband the picture and the next thing I knew, he had a turkey drawn out on plywood and was ready to cut it out! I love having a crafty helpful husband! He's the best!! :)
So...here's the project!
Nathan started out by drawing a turkey on plywood and cut it out. I tried to freehand a turkey, but it looked TERRIBLE! His looked so much better than mine would ever look! :)
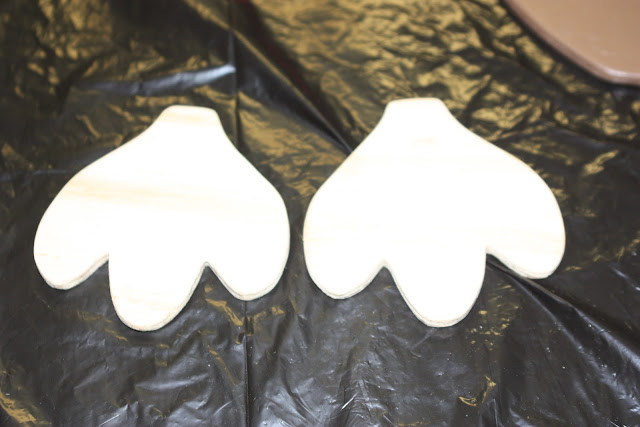
Nathan also drew and cut out the turkey's feet.
Next, he sanded the edges to give it a more rounded edge and a finished look.
Here's the turkey cut out sanded and ready for some paint.
I painted the turkey's body.
Then I painted the feathers.
Here is the turkey with its feathers painted (all but the one on the far right.) I was having a problem getting my paint for that color ready...because I couldn't seem to mix red and yellow to make orange). I know, it seems so simple but for some reason it just wouldn't look right. So, I went the next day to Joann's and bought some orange paint!
Here is the final piece! I finished the turkey up with dots I cut out with my cricut on white vinyl to line the feathers. I also used my cricut to cut out the eyes, beak, and "The Perkins". I painted the eyelashes then painted the turkey feet orange. I added "the legs" with a cute green and white polka dot ribbon. I used a hot glue gun to attach it.
I had such a great time working on this project, especially since it was a joint effort with my hubby! :) Fun times!


